AirSense 11 DC Cable Solar Setup: The Correct Way to Wire It
 By Lee Arnold
Medical Solar Power Backup Specialist | 8+ years in the field
Quick Answer:
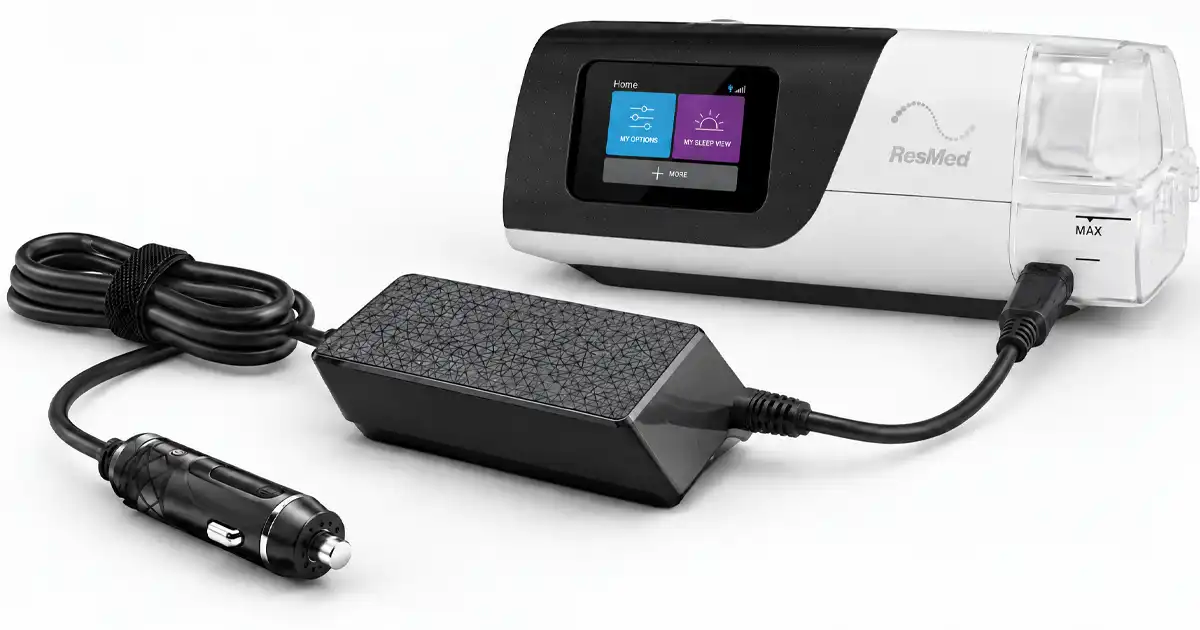
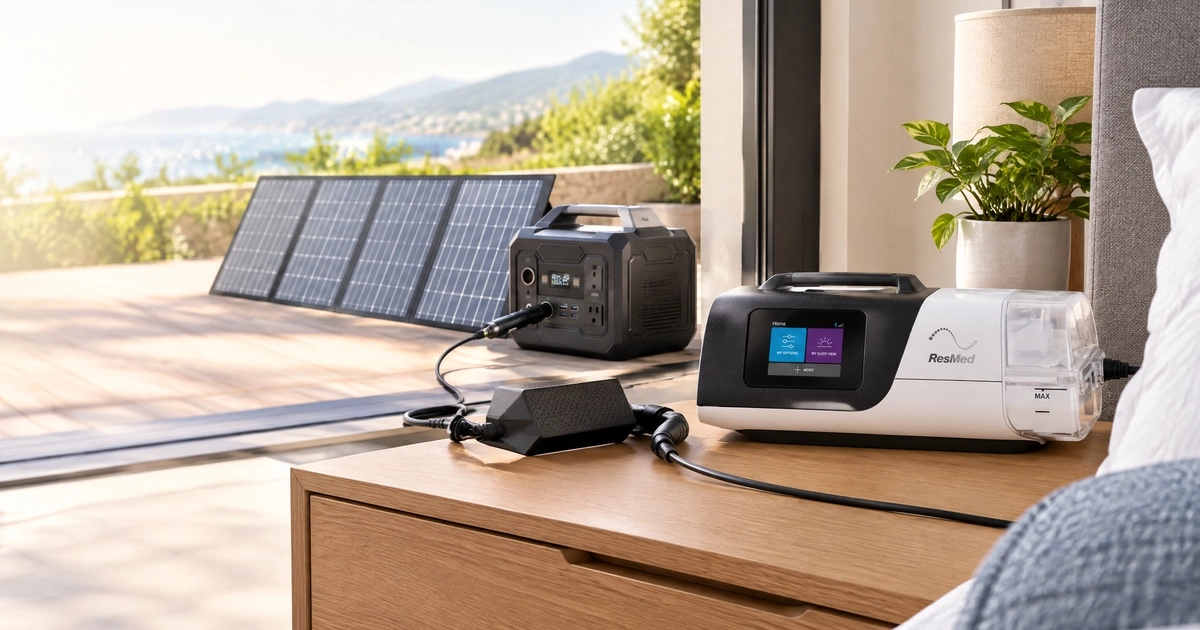
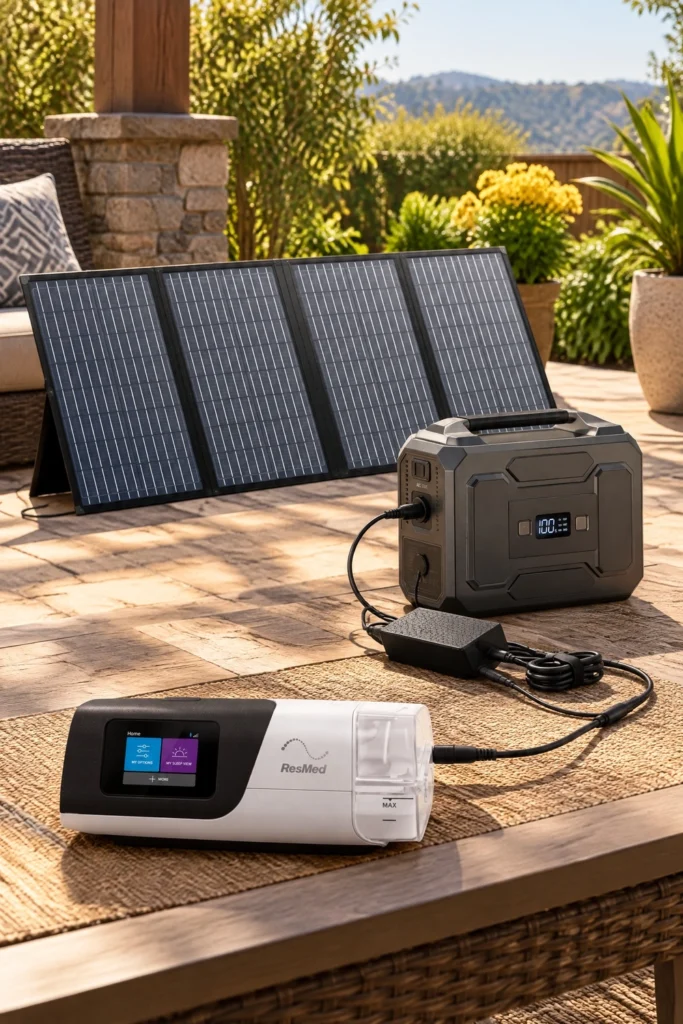
The reliable AirSense 11 DC cable solar setup is: solar panel charges a power station, the power station’s 12V DC output feeds a dedicated AirSense 11 DC/DC converter (24V, 2.71A, 65W), and that converter plugs directly into the AirSense 11’s DC input port — skipping the AC inverter entirely. This is 15 to 25% more efficient than running the AirSense 11’s AC adapter off a power station’s AC outlet, per independent testing. One safety detail matters more here than on most CPAP machines: the AirSense 11’s power connector uses a third pin that verifies the adapter can deliver a full 65W before allowing power through. A generic or underpowered adapter can throw error codes or, in the case of an adapter that bypasses the handshake, risk damaging the machine — don’t substitute a random USB-C or barrel cable here.
I cover the AirSense 11’s full power consumption breakdown in my ResMed AirSense 11 power consumption guide and genuine replacement cord options in my AirSense 11 power cord guide — this one is specifically about wiring it into a solar setup correctly, not re-explaining the wattage numbers those two already cover in depth.
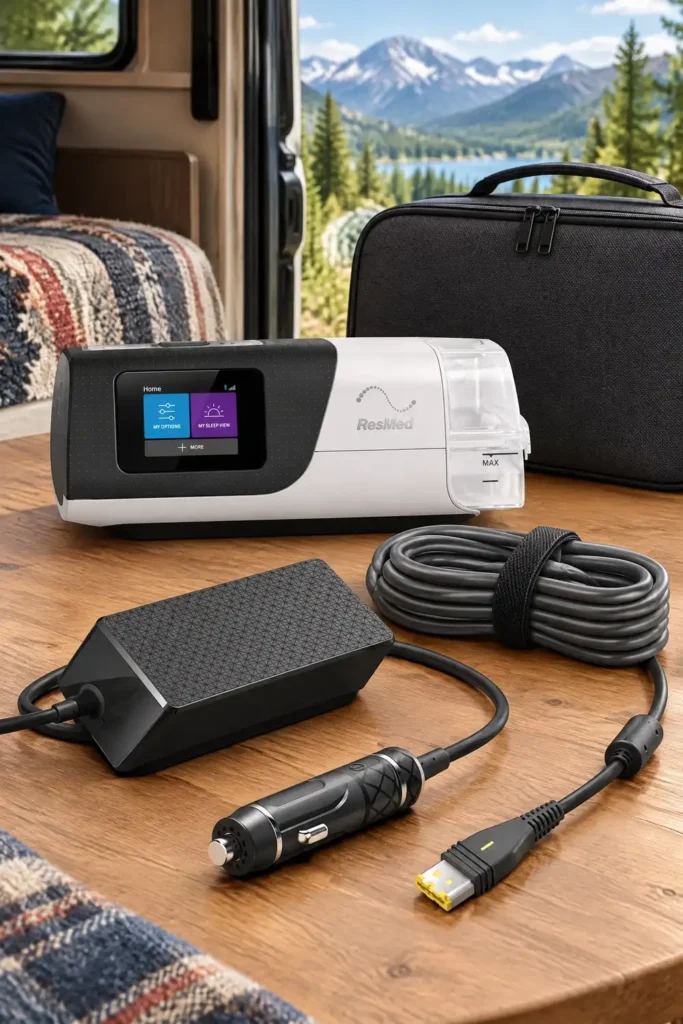
Table of Contents
Why DC-Direct Beats the AC Route Here
Most CPAP solar setups on this site use the machine’s factory AC adapter plugged into a power station’s AC outlet — the simplest, most universally reliable method, and the right default for machines that don’t have a dedicated DC input. The AirSense 11 is a genuine exception worth treating differently: it has its own DC input port built in, separate from the AC path.
The AC route means two conversions: the power station’s battery DC gets inverted up to AC, then the AirSense 11’s own power supply converts that back down to 24V DC. Every conversion step loses energy as heat. The DC-direct path — power station’s 12V output, through a dedicated 24V DC/DC converter, straight into the AirSense 11 — skips one of those steps entirely. Independent testing puts the efficiency gain at 15 to 25%, which over an 8-hour night adds up to roughly 1 to 2 extra hours of coverage from the same stored capacity.
The Third-Pin Handshake: Why Generic Cables Are Riskier Here Than Usual
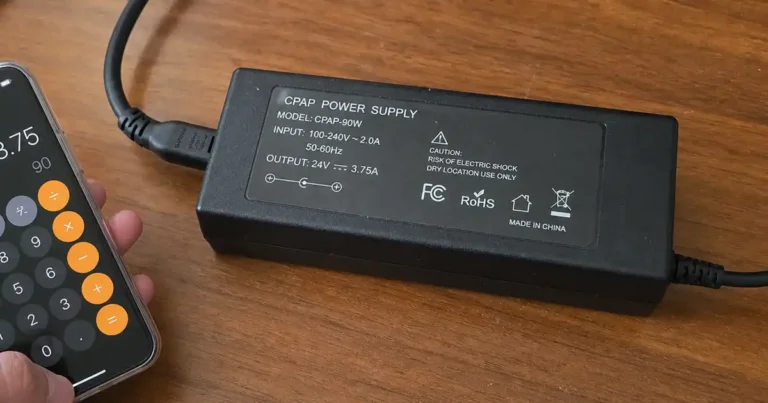
ResMed built a third pin into the AirSense 11’s power connector specifically to verify that a connected adapter can actually deliver the full 65W before it allows power through. This is more particular than most CPAP machines, including the AirSense 10. An underpowered adapter that fails this handshake typically just throws an error code — annoying, not dangerous. The real risk is a low-quality third-party adapter that bypasses the handshake rather than failing it cleanly, which can send power the machine wasn’t expecting. Use a converter explicitly built and specified for the AirSense 11’s exact output (24V, 2.71A, 65W), not a generic “universal CPAP adapter” — the medical power supply adapter guide on this site covers this compatibility-verification principle in more depth for CPAP and oxygen equipment generally.
The Setup
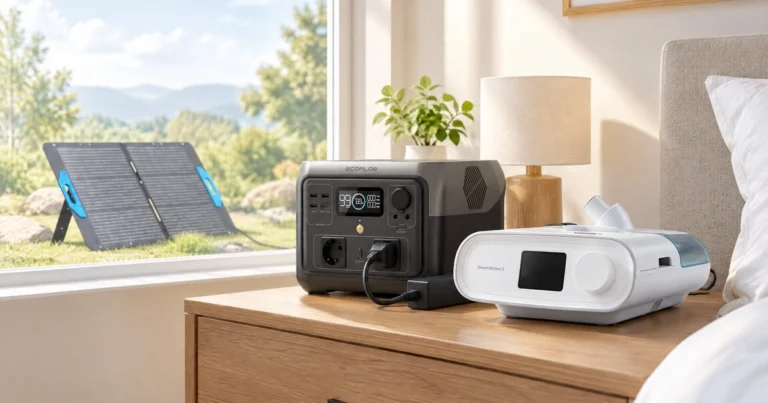
1. Solar panel to power station. Standard setup, no AirSense-specific step here — connect the panel to the power station’s solar input and let it charge.
2. Power station’s 12V DC output to the AirSense 11 DC/DC converter. Most power stations include a 12V car-style accessory port in addition to their AC outlets — this is what feeds the converter, not the AC side.
3. Converter to the AirSense 11’s DC input port. The converter steps the 12V up to the regulated 24V, 2.71A the AirSense 11’s third-pin handshake expects.
4. Confirm normal startup. The AirSense 11 should power on and initialize exactly as it would from a wall outlet. An error code at this stage almost always means an underpowered or incorrectly-specified converter, not a wiring mistake — double-check the converter’s output rating before troubleshooting further.
Real Charging Math
The AirSense 11’s typical draw (well below its 65W maximum for most therapy configurations, per the consumption breakdown linked above), applied against roughly 80% usable capacity from a power station’s rated Wh — the same efficiency factor used across every runtime estimate on this site — means a 1,000Wh-class power station comfortably covers multiple nights before needing a recharge, and the DC-direct efficiency gain stretches that further than the same setup would deliver over AC. A single 100W solar panel in good sun typically replaces a full night’s usage within a day, keeping the system in a stable cycle rather than requiring a full recharge from empty each time.
Verified Gear (September 2026)
How I verified these picks: I confirmed the converter’s output rating against ResMed’s own AirSense 11 power supply specification (24V, 2.71A, 65W) rather than trusting a generic “compatible” claim, and checked current Amazon listing status directly.
HKY AirSense 11 DC/DC Converter

What Makes It Different Purpose-built to output exactly what the AirSense 11’s handshake expects — 24V, 2.71A, 65W — from a 12V to 24V input range (accepting 9V to 32V), rather than a generic multi-device adapter approximating it.
Compatibility Check Built specifically for the AirSense 11 series (AutoSet, Elite, CPAP) and AirCurve 11 (VAuto, ASV). Does not fit the AirSense 10 or S9, which use different connectors and power specs — confirm you have an 11-series machine before ordering.
Setup & Charging Notes Connects between a 12V source (a power station’s car-style DC port, or an actual vehicle outlet) and the AirSense 11’s DC input. Built-in overheat, overload, and short-circuit protection per the listing’s own safety documentation.
Pros: Matches ResMed’s exact output spec rather than a generic wattage claim, Amazon’s Choice on its listing, built-in cooling and overload protection. Cons, with the fix: This is a DC-to-DC converter only — it doesn’t charge the power station itself; that still happens via the panel or a wall outlet. Don’t confuse this with an AC replacement power supply if what you actually need is a wall-outlet adapter, covered separately in the power cord guide linked above. A verified buyer also reported a small parasitic power draw (roughly 0.13A) when the CPAP is unplugged but the converter stays connected to a 12V source — not enough to matter over a single trip, but worth disconnecting it between uses if it’s wired into a vehicle or house battery for weeks at a stretch, since a slow drain adds up.
What Others Are Saying Feedback on this converter family skews strongly positive, with campers and RV users specifically praising the power savings over running a separate inverter — one reviewer measured roughly 20 to 25% overnight battery drain using an inverter versus a comfortably smaller draw going DC-direct, consistent with the efficiency reasoning above. The most common complaint isn’t performance, it’s cord length — more than one buyer wanted a longer run between the 12V plug and the converter body than the stock cable provides.
HSA/FSA Note A DC converter purchased specifically to power a prescribed CPAP device from backup or solar power generally qualifies as an operating cost under IRS Publication 502.
For the power station and solar panel side of this setup, the same pure sine wave, 300W+ continuous-output gear covered in my Inogen Rove 6 solar charging guide applies here too — the AirSense 11’s power needs are modest enough that the same general-purpose setup works across both devices.
FAQs
Do I need the DC converter, or can I just use the AC adapter with a power station?
The AC adapter into a power station’s AC outlet works fine and is simpler — it’s the default approach for most CPAP machines on this site. The DC converter is specifically worth the extra step for the AirSense 11 because it has a dedicated DC input and the efficiency gain is real, not because the AC method is unsafe.
What happens if I use a generic DC adapter instead of one built for the AirSense 11?
Best case, the third-pin handshake fails and the machine won’t power on, showing an error code. Worst case, an adapter that bypasses the handshake improperly sends power the machine wasn’t built to expect. Use a converter specified for the AirSense 11’s exact output rating.
Can I run the AirSense 11 directly off a car battery without a power station?
Yes, with the same DC/DC converter, plugged into a standard 12V car accessory outlet instead of a power station’s DC port — the same 12V-to-24V conversion applies either way.
Does this setup work for the AirCurve 11 too?
Yes — the AirCurve 11 (VAuto, ASV) uses the same power connector and specification as the AirSense 11, and the converter covered here is built for both.
Bottom Line
For the AirSense 11 specifically, wiring the solar setup through its dedicated DC input — power station’s 12V port, through a 24V DC/DC converter built for its exact specs, into the machine — beats the simpler AC-adapter route on efficiency, thanks to skipping one conversion step entirely. The one thing to get right: use a converter built specifically for the AirSense 11’s 65W handshake requirement, not a generic adapter, since this machine is pickier about that than most.
For the full power consumption breakdown, see my ResMed AirSense 11 power consumption guide, and for the pillar-level picture on medical device power, the medical device power supply guide.